Niçoise Salad 

Jul. 8th, 2025 04:42 pm
[syndicated profile] 101cookbooks_feed

Posted by Heidi Swanson

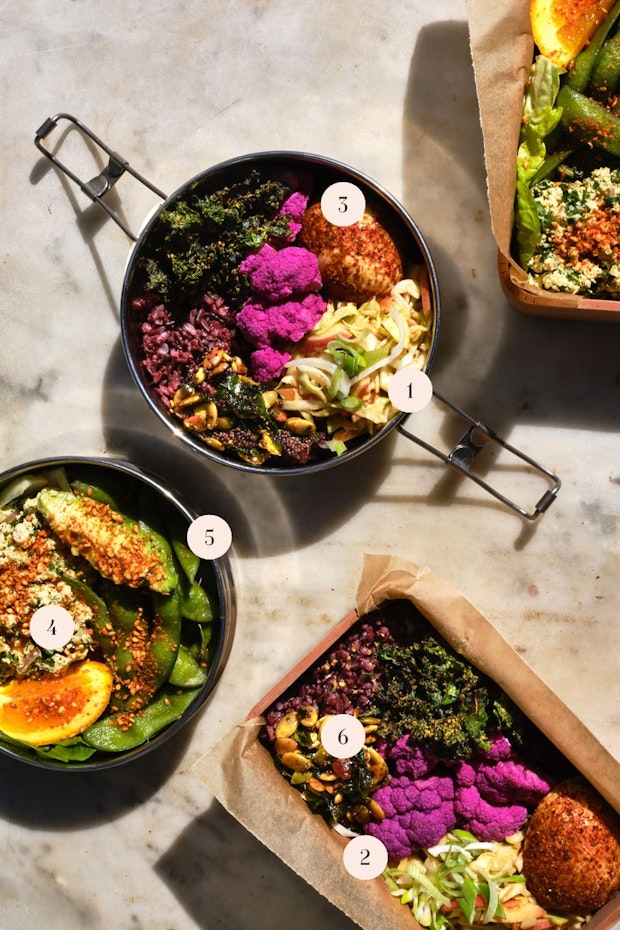
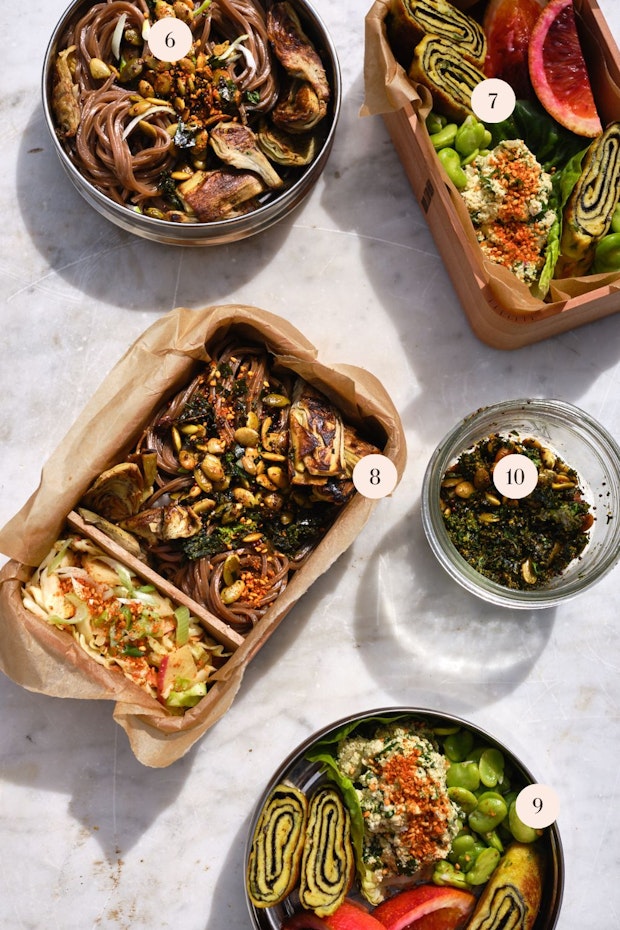
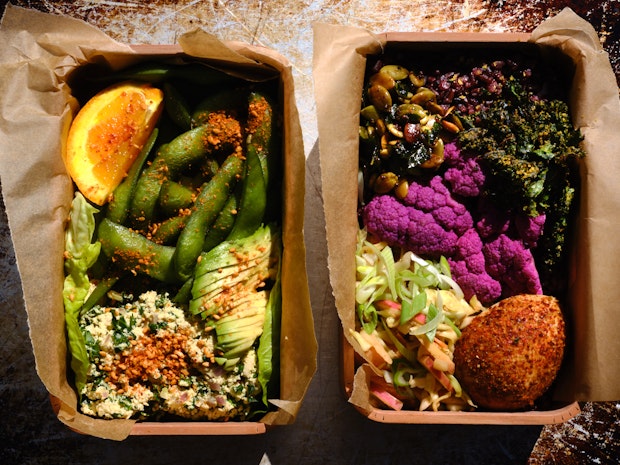
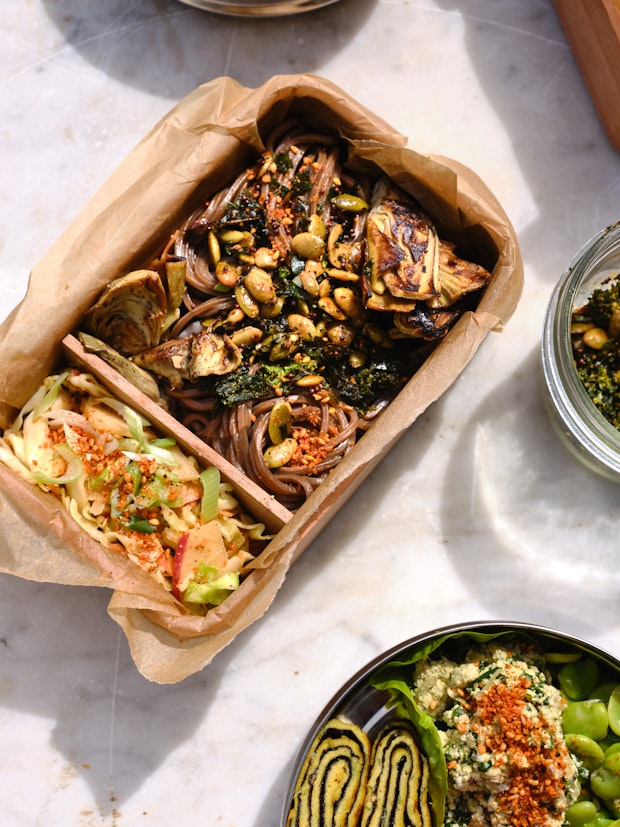
Let’s talk about Niçoise Salad. It’s an arrangement traditionally made with ingredients local to the Provencal city of Nice. Purists often argue that a proper salad Niçoise has a long list of hard nos. No lettuces, no boiled potatoes, green beans are out, avocados (lol), no vinaigrette, and on and on. The list is extensive and if you want a deeper dive into the history, read this. What is allowed? Olive oil-packed anchovies and raw tomatoes, and salt. Many versions have evolved from this including the one I make most.
Nicoise salad on a large serving platter

Nicoise Salad: The Inspiration

In recent years Niçoise salad has become a frequent “go-to” when we have friends or family over. This is because arranged on a platter it is a gorgeous, abundant, queen of a salad. More important, in this modern age, it can accommodate nearly everyone’s dietary preferences. This is no small feat here in Los Angeles and a huge win-win in my book. This version works for vegans and vegetarians, people avoiding dairy, as well as anyone gluten-free. We’re vegetarian, but not every one is. If you want to shift things toward a more traditional Niçoise salad, you can retain the fish component. We all have a friend who is passionate about tinned fish – have them bring a favorite to serve on the side.
ingredients for a Nicoise arranged on a counter including hard-boiled eggs, green beans, potatoes, olives, lettuces

Niçoise Salad Ingredients

  • Beans or lentils: For a vegetarian version (as pictured) replace the traditional fish component – tuna or anchovies – with beans or lentils. You see freshly shelled cranberry beans in the photos here (boiled until tender), but French lentils are another great option. Chickpeas or cannelloni beans also work well.
  • Potatoes: Small, waxy potatoes are ideal here.
  • Lettuces: Some camps embrace lettuces as a component here, others, not so much. I love to include pockets of perfect little gem lettuces. They’re great for scooping and wrapping other ingredients and lend a fresh bolt of green to the whole scene.
  • Tomatoes: Ripe, seasonal, fresh tomatoes are the goal here. If you include cherry tomatoes, halve them. Larger tomatoes? Slice into quarters.
  • Hard boiled eggs: Eggs bring the protein to this salad along with any beans or lentils you might include. I include my favorite way to hard boil eggs, no grey yolks, bright yellow yolks in the recipe below.
  • String Beans: Tender, green beans (or yellow beans) are a key component. Getting their texture right is the challenge. Build for a flash, until they relax a shade and brighten a bit. Then shock them in cold water.
  • Olives: Niçoise olives are the traditional choice, of course, but if you have other olive varietals on hand, do let that deter you from making Niçoise salad, or Niçoise-ish Salad.
  • Artichokes: If I know I’m going to make a Niçoise salad, I’ll cook a bit skillet of artichoke hearts the night prior. Eat some with dinner, and save some in the refrigerator for the Niçoise the next day. Here’s how to cook artichokes along with some tips because I love them so much. 
  • Vinaigrette: A strong vinaigrette is my preference here, and I include mine in the recipe below. Be sure to make it with good tasting vinegar.
  • Lemons: If you have a grill going, grilled halves of lemon are a nice addition.

ingredients for a Nicoise arranged on a kitchen island including hard-boiled eggs, green beans, potatoes, olives, lettuces
Niçoise
Salad: How To Make Ahead

One of the things to love about Niçoise salad is that many of the components can be made ahead.

  • Vinaigrette: Make the vinaigrette up to 4 days in advance.
  • Artichokes can be cooked a day or two ahead.
  • Potatoes, green beans, and hard-boiled eggs can be boiled a day ahead.
  • Lettuces can be washed and dried a day or two ahead of time.
  • Beans can been cooked from dried up to 2-3 days ahead.

Nicoise salad on a large serving platter
More Salad Recipes

Continue reading Niçoise Salad  on 101 Cookbooks

Peach Hand Pies

Jul. 15th, 2025 05:58 pm
[syndicated profile] 101cookbooks_feed

Posted by Heidi Swanson

Compact and self-contained, the list of reasons to love a hand pie is long. Especially for people who love a well-baked, buttery pie crust. Hand pies know how much pie crust fans love them. Compared to a standard slice of pie, the ratio of crust to filling of a hand pie is excellent. These peach hand pies are best made with ripe, flavor-packed summer fruit. Goat cheese and a kiss of green chili pulls them toward the savory side, while a bit of brown sugar bumps up the sweetness of the peaches. They’re wonderful, and I’m thrilled I have a stack of them in my freezer right now – shaped and filled – ready to bake on a whim. Let’s talk about a few important details, to get them right.
Peach hand pies on a baking sheet

What Makes a Good Hand Pie?

There are really just two main components that need focus: the crust and the filling.

  • The crust: This is my ride-or-die all-butter, flaky pie crust. It’s perfect for these hand pies and provides all the flavor and structure you need. Basically, you need a crust that provides structure. If you don’t get that right, you’re in trouble. Be sure to bake your hand pies at high baking temperature until golden and well set. No pale, underbaked hand pies please. Look at the structure and color on this one below, that’s what you’re after.
    The golden crispy base of peach hand pie
  • The filling: To avoid a soggy hand pie, moisture is a bit of an enemy. Fruit (like peaches) can put off a good amount of it. A bit of moisture (and the flavor that comes with it) is ok, but I like to use a slotted spoon when filling hand pies to leave some of that behind. I also like a filling with strong, balanced flavors.

Hand Pie: Step By Step

Ok, let’s do a quick run through of the major steps before you jump into the recipe.

First thing, roll out the pie dough (below). Go thinner rather than thicker – about 1/8 inch. You can gather any scraps into a ball, re-chill, and keep rolling until you’ve used all your dough.
pie dough rolled out on marble counter
Stamp out your hand pie shapes. Again, use all of your dough.
pie dough stamped into squares for hand pies
If your pie dough (little squares) is getting too warm at this point, arrange the squares on a parchment-lined backing sheets and pop in the refrigerator or freezer for a few minutes. Summer is the most challenging season for handling pie dough. Now, get ready to fill the hand pies, working quickly. Use the egg wash at this point, brushing the edges of the dough, for a good seal.
hand pie fillings including peaches, basil, goat cheese
Fruit first, goat cheese second. (below)
pie dough topped with peaches and goat cheese
Once the pies are filled, top them, and use a fork around the perimeters for an extra good seal (photo below). This way the pies don’t leak while baking.
peach hand pies arranged on a sheet before baking
Pop the pies in the freezer for 10-15 minutes (or longer), before brushing with more egg wash (below), and cutting a few vents in each pie top.
hand pies on a baking sheet after brushing with egg wash
Exciting, you’re almost there. We’re ready to bake! Keep an eagle eye on the baking process and resist the urge to take the hand pies out of the oven too soon. Look for good color and structure. Look at the bottoms of the hand pies, in addition to the tops, in order to gauge where you’re at in the baking process.
Two peach hand pies on a plate

Other tips:

Hand pies are best consumed sooner rather than later. A second day hand pie is, likely, a sad, soft hand pie. Although, you might be able to revive one by popping it back in the oven for a few minutes. Quite honestly, you’re better off freezing the pies just after filling and finish the baking process just before you want to enjoy them. This is a long way of saying, bake as many as you think you’ll eat, freeze the rest.
close up photo of peach hand pies on a baking sheet

Variations:

  • A Lil Bit More Rustic: Swap in a bit of spelt flour when making the pie crust. This recipe calls for 330 g of flour, and I like to swap in 30 g spelt flour.
  • Pluot or Plum Hand Pies: Simply swap in whatever stone fruit you have for the peaches.
  • Shape: Experiment with different shaped pies.  I love hand pies with corners – shaped into squares or triangles. The corners get extra toasty and delicious. But have fun playing around with the shape of your hand pies. Circles are a classic, as are half-moons and crescents.

More Pie Recipes

More Peach Recipes

Continue reading Peach Hand Pies on 101 Cookbooks

[syndicated profile] 101cookbooks_feed

Posted by Heidi Swanson

Let’s talk about how to make a great vegetarian poke bowl. Poke is a much-loved, traditional, raw fish preparation, long popular in Hawaii. Fishermen would season bits of their catch, and snack on it while working. Poke (pronounced poh-kay) has exploded in popularity, well beyond Hawaii, in recent years. The version I’m posting today is for any of you who love the idea of poke or poke bowls, but don’t eat fish for whatever reason. Vegetarian poke bowls are particularly fantastic this time of year because they’re light, clean, filling but not heavy, you know?

How to Make a Great Vegetarian Poke Bowl

Vegetarian Poke Bowl: The Components

I typically use a watermelon poke, a version of this sushi rice (but any favorite sushi rice / blend will do), and a host of other vibrant toppings. Here you see firm, organic tofu, sliced avocado, blanched asparagus, shaved watermelon radish, and micro sprouts. If you have guacamole on hand, use a dollop of that! The bowl is drizzled, simply, with good soy sauce. And there’s a sprinkling of sesame seeds and scallions. The other topping I really crave, not pictured here, is a showering of crispy, fried shallots. 

How to Make a Great Vegetarian Poke Bowl

Seasonal Variations

When it comes to toppings, what you see here is just a jumping off point. And I encourage you to play around with all the components. For example, you might trade in roasted squash cubes for the watermelon later in the year. Or, perhaps, a different melon varietal. And you could do roasted onions in place of scallions. Or, play around with the drizzle on top. For a quick poke bowl, I just do a soy sauce drizzle, but you could whip up something more complex. Have fun with it!

How to Make a Great Vegetarian Poke Bowl
Although, it can be argued, a vegetarian poke bowl isn’t a real poke bowl, it’s a great meal just the same. Keep your eyes peeled for other inspiration as well. I love seeing the creative vegetarian versions on menus at poke spots all over. Lots of ideas there that you might replicate in your own kitchens!

More Vegetarian Recipes

Continue reading How to Make a Great Vegetarian Poke Bowl on 101 Cookbooks

Tomato Sandwich with Zucchini Butter

Jul. 7th, 2025 07:09 pm
[syndicated profile] 101cookbooks_feed

Posted by Heidi Swanson

There is only one time of year to make tomato sandwiches. It’s when tomatoes are absolutely perfect. You’ve got a summertime window, but don’t try making one come February. It’s too sad for both you and the tomatoes. There are beautiful tomatoes everywhere I look right now, and so I made my first tomato sandwich of the summer. Here’s what it looked like.tomato sandwich sliced in half

Building a Good Tomato Sandwich

I like making tomato sandwiches on just about any style of bread. This one went on a rustic baguette, but a soft white bread, or oatmeal bread are also welcome options. Or a slab of focaccia sliced in half. The tomato-mayo combination is classic here, and that’s what I went for today (pictured below). But other times, goat cheese, or a smear of labneh, make a nice creamy first layer. The second layer is zucchini butter. It also goes on both sides of the bread.  If you don’t have zucchini butter, a bit of pesto, or something artichoke-centric are good alternatives. This artichoke dip is a fantastic spread, or leftover pan-fried artichokes. I basically raid the refrigerator for options.
assembling a tomato sandwich starting with mayo and zucchini butter

For the next layer (pictured below), there is ripe avocado topped with fresh basil on one side, and slices of heirloom tomatoes on the other. A drizzle of good olive oil over the tomatoes isn’t unwelcome, even better if it is a chili olive oil, or a citrus one.
assembling a tomato sandwich by adding avocado and tomatoes
To double down on tomato flavor, I’ve also been known to do a thin layer of roasted cherry tomatoes in place of the zucchini butter, and then go ahead with the fresh heirloom tomatoes. So so so good.

More Tomato Recipes

More Sandwich Recipes


Continue reading Tomato Sandwich with Zucchini Butter on 101 Cookbooks

Zucchini Butter

Jul. 9th, 2025 05:44 pm
[syndicated profile] 101cookbooks_feed

Posted by Heidi Swanson

If you grow zucchini (or are a neighbor of someone growing summer squash), chances are good you’re familiar with zucchini butter. It is popular for a reason. You cook a couple pounds of zucchini down, slowly, into a creamy, jammy spread. It freezes nicely, and can be used in endless ways we’ll discuss to make quick meals.
zucchini butter in a glass jar

The Origin of Zucchini Butter

I came across the concept of zucchini butter when someone at the community garden pointed me to a version on the Food in Jars site. At first I thought it was going to be a lot of shredded zucchini and herbs worked into actual butter, but no, that wasn’t it. It was cooking zucchini low and slow into a melty fragrant mess of summertime yum. I realized pretty quickly, zucchini butter is not a new thing, but naming it zucchini butter might be. Historically, cooking zucchini in olive oil or butter, making it into various spreads and condiments is a thing, particularly in a number of regional Italian and French cuisines – as well as others, I’m sure. It wasn’t called zucchini butter, it was just how you cook down an abundance of a seasonal ingredient. Julia Child popularized a grated zucchini and shallot recipe, widely cited online as one of the origins of zucchini butter, another version of the technique was highlighted on Food52 as a Genius Recipe. But my sense is that this technique is rooted in grandma and great-grandma cooking, and whatever you end up calling it, it’s a fantastic technique to use up a couple pounds of zucchini. Here’s how I do it.

zucchini butter after cooking in a cast iron pan

Favorite Ways to Use Zucchini Butter

I like to cook a pan of zucchini butter and divide it in half. Half goes in the refrigerator, half goes in the freezer.  Here’s how I use the first half:

  • Pizza topping: use it on pizzas in place of another sauce.
  • Bruschetta: a big smear of zucchini butter a bit of goat cheese and a drizzle of chili crisp is great.
  • Work a big scoop into your favorite frittata or omelette.
  • A big smear on a toasted English muffin and an egg is the way to start building a breakfast sandwich.
  • Add a good amount of grated Parmesan cheese and toss it with pasta for a quick meal.
  • Mezze spread: stir some chopped black olives into the zucchini butter and use it in a mezzo situation as a spread for crackers or flatbreads.
  • Work half a batch into a pot of risotto.
  • As a layer on heirloom tomato sandwiches along with some ripe avocado and fresh basil.

Zucchini Butter: Variations

The zucchini butter you see pictured here is straight-forward with just a little bit of chopped serrano chile pepper added for some kick. But I like to take the concept into a range of directions, and here are a few that have been, arguably, the most successful.

  • Herbed Zucchini Butter: Stir fresh herbs in during the last ten minutes of cooking. A couple teaspoons of thyme is one place to start. Or, 1/2 teaspoon of finely chopped rosemary. Or, a handful of well-chopped cilantro (wait to stir this in after you’re finished cooking). Same deal with chopped basil, add after cooking, or even after the zucchini has cooled. And lots of chives are rarely a bad call.
  • Citrus Zucchini Butter: Add the zest of a lemon or orange during the last ten minutes of cooking. Finish with a generous drizzle of lemon or other citrus olive oil.
  • Spicy Zucchini Butter: As mentioned, above. I like to add some minced serrano pepper. If you want to keep it relatively mild, start with 1/4 or 1/2 of a pepper, and dial it up from there, to your liking.
  • Sunshine Zucchini Butter: Use yellow summer squash in place of green zucchini. Stir in a scant 1/2 teaspoon of turmeric powder about half way through the cooking process along with a good amount of freshly ground black pepper. I also like to finish this one with a kiss of lemon olive oil.

Short-cut

There is a shortcut here. You can use grated zucchini to make zucchini butter. And, if you have a grating attachment for your food processor it makes quick work of taking down this much zucchini. It also cooks more quickly into a spreadable texture. I like the more rustic texture you get by cutting the zucchini into tiny cubes, but this a personal preference, and if you want the grated zucchini approach, by all means!

ingredients to make zucchini butter arranged on a marble counter
Here’s a look (above and below) of the ingredients that go into zucchini butter. You can see how I chop the zucchini and the onions as well. I do a blend of olive oil and butter for the cooking fat.
chopped zucchini, butter, olive oil, and onions to make zucchini butter in a kitchen

Cooking Stages

I thought it might be helpful to share photos of the zucchini butter as it cooks down over the hour or so it takes to get to an ideal consistency. 
After 15 minutes (below): you can see that the zucchini is just starting to soften up a bit here.
zucchini butter after cooking fifteen minutes in a hot pan
After 40 minutes (below): You can see that the change is pretty dramatic at this stage but there is still quite a lot of structure in some of the pieces and related to the skin. Keep going! You’ll probably need to be addling splashes of water at this point to keep things creamy, and to keep the zucchini from browning.
zucchini butter after cooking 30 minutes in a pan
After one hour (below): This is the stage things really start to collapse, you’re getting close to the texture you’re after. I went another 10 minutes beyond this to get to the stage you see in the lead photos.
zucchini butter after cooking for an hour in a pan

More Zucchini Recipes

Continue reading Zucchini Butter on 101 Cookbooks

Profile

vb_d75

July 2025

S M T W T F S
  12345
6789101112
13141516171819
20212223242526
2728293031  

Style Credit

Expand Cut Tags

No cut tags
Page generated Jul. 18th, 2025 11:03 pm
Powered by Dreamwidth Studios